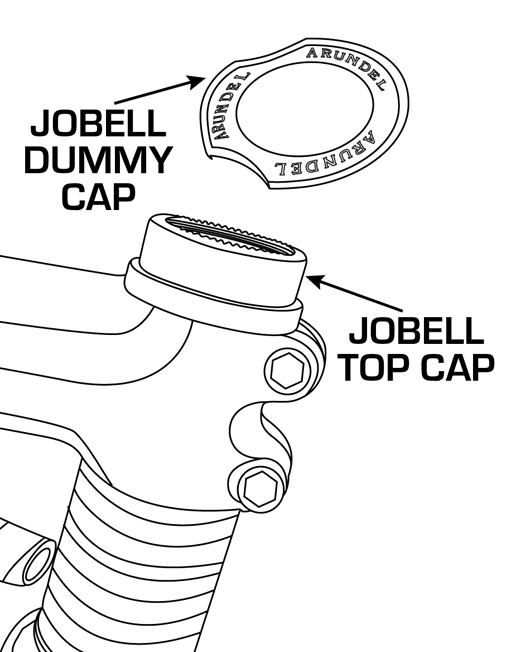
JoBell Mounting Instructions
Step One: Remove old top cap.
With a the correct sized allen wrench, remove the bolt securing the top cap to the fork. The Jobell is designed to use the standard M6x1.0 Cap Screw bolt. If your old top cap uses this style retain the bolt for later use. The top cap should come off easily, but you may have to loosen the stem bolts.

Step Two: Measure for correct depth.
Most likely your old top cap will have the same dimensions as the Jobell Top Cap, but if not, you will need about 3-4 mm of depth from the upper edge of the stem or stem spacer down to the top of the fork steerer tube. If more depth is needed, use the included spacer.
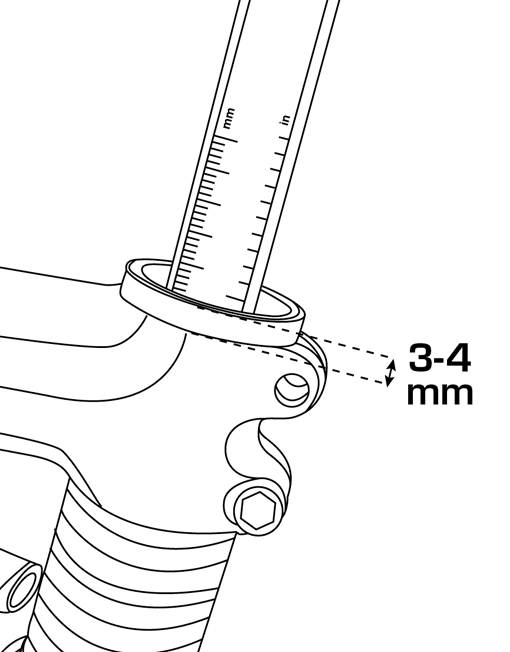
Step Three: Install Jobell Top Cap..
Most likely your old top cap will have the same dimensions as the Jobell Top Cap, but if not, you will need about 3-4 mm of depth from the upper edge of the stem or stem spacer down to the top of the fork steerer tube. If more depth is needed, use the included spacer.
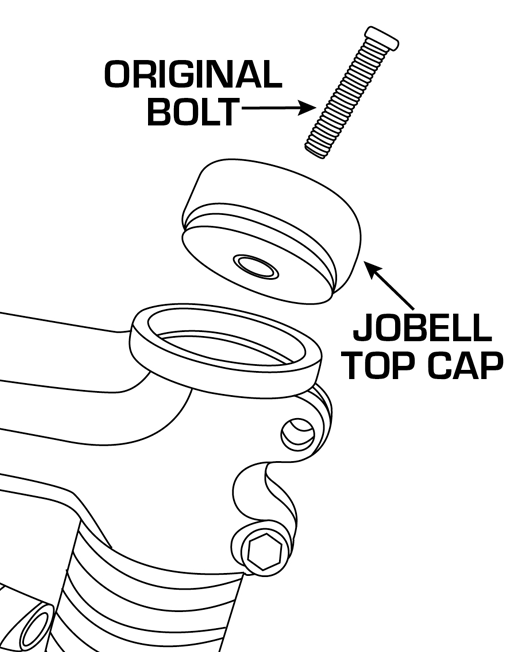
Step Four: Torque to headset manufacturer’s recommended specs.
Tighten the bolt to ensure that there is no play within the headset parts and that no binding occurs
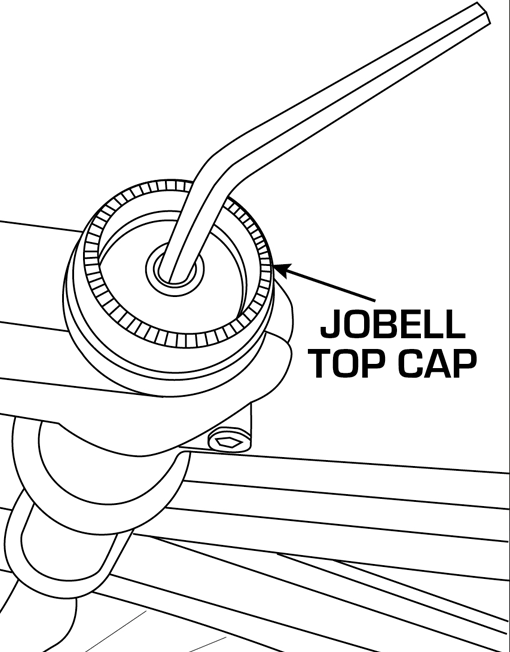
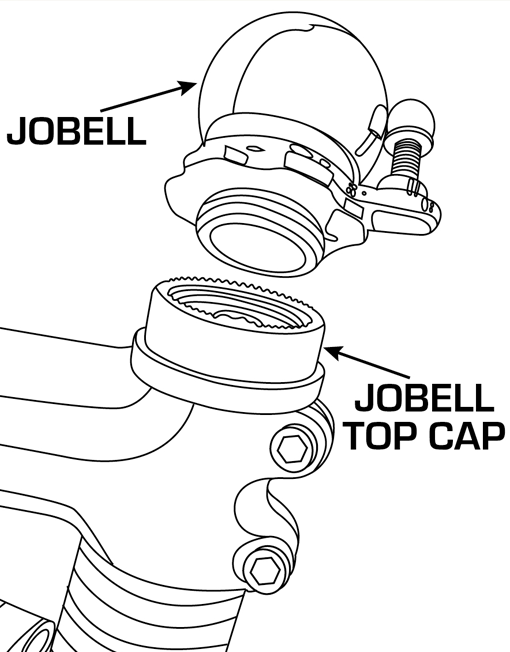
Step Five: Install Jobell assembly.
Thread the Jobell assembly into the newly installed Jobell Top Cap using the ridged flange beneath the bell. Hand tight is adequate.
Step Six: Use of Dummy Cap.
When a bell is not required for your ride, install the Dummy Cap in the same manner as the Jobell Assembly.
